Tasting Template
Lumytic provides a suite of pre-designed professional templates to help QA teams streamline the quality assurance process efficiently. Alternatively, you can create custom templates from scratch to suit specific testing needs.
Create Testing Template
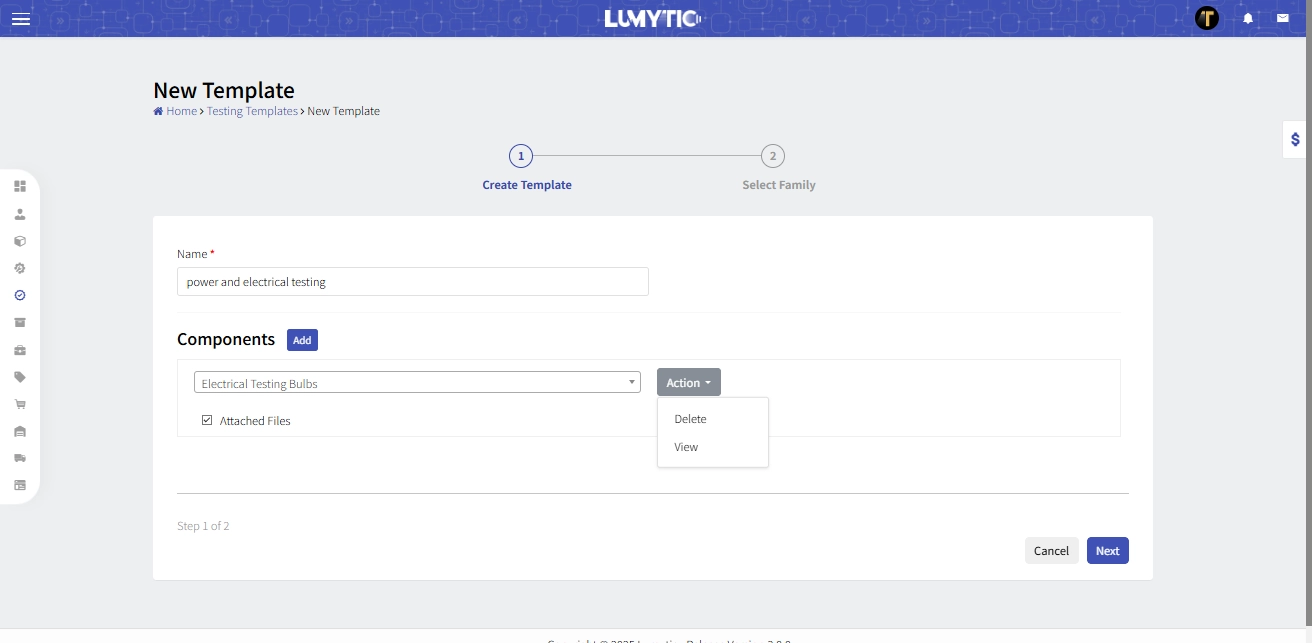
Create a new testing template by selecting components, then assigning the template to relevant families, and configuring options for quality testing and inspection.
- From the Testing Templates page, click Add.
- Enter a Template Name, then select the desired components (you can add multiple components)
- (Optional) Enable the “Attach Files” option to allow photo uploads for each field inside the selected components.
- Reorder components as needed, then click Next.
- On the Family Selection tab, choose one or more families to assign the template to. This allows the system to link the testing template with specific product groups.
- Review all entered information, then click Save.
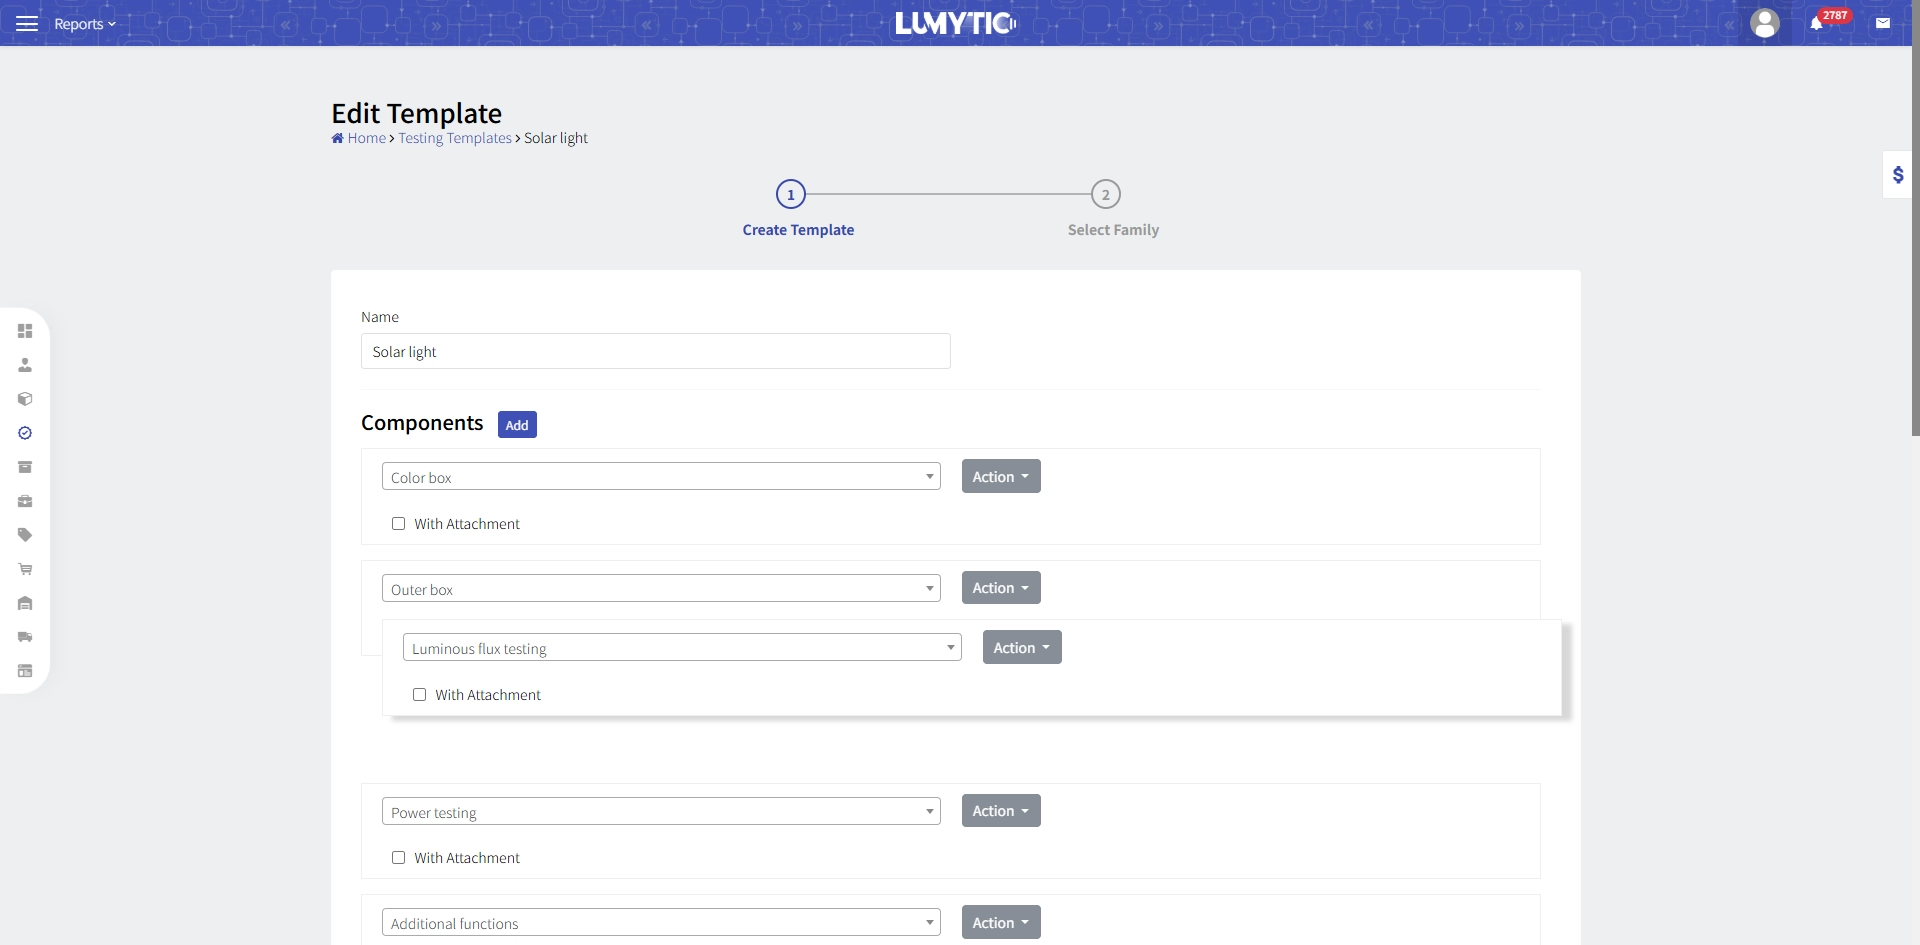
Edit Testing Template
Templates can be edited only if they have not been used in any quality tests. Once a template is in use, only the assigned families can be modified.
- From Testing Templates page, select the testing template you want to update. Then, click Edit from the Actions button.
- Make the necessary updates then click save.
If the template has already been used in a quality test, only the assigned families can be changed.
Arrange Testing Template Component
Organize components within a testing template to ensure a clear structure and efficient execution during quality testing.
- From Testing Templates page, select the testing template you want to update. Then, click Edit from the Actions button
- Use drag-and-drop to arrange the components in your preferred order.
- Once the components are arranged, click Next, then click Save to apply the changes.
Delete Component from Testing Template
Remove an unwanted component from the testing template during the creation or editing process.
- From Testing Templates page, select the testing template you want to update. Then, click Edit from the Actions button
- In the component list, click Delete from the Actions button next to the component you want to remove.
- Click Next, then click Save to apply the changes